X
home
hair
makeup
nails
skin
inspiration
peruse
SEARCH
hair
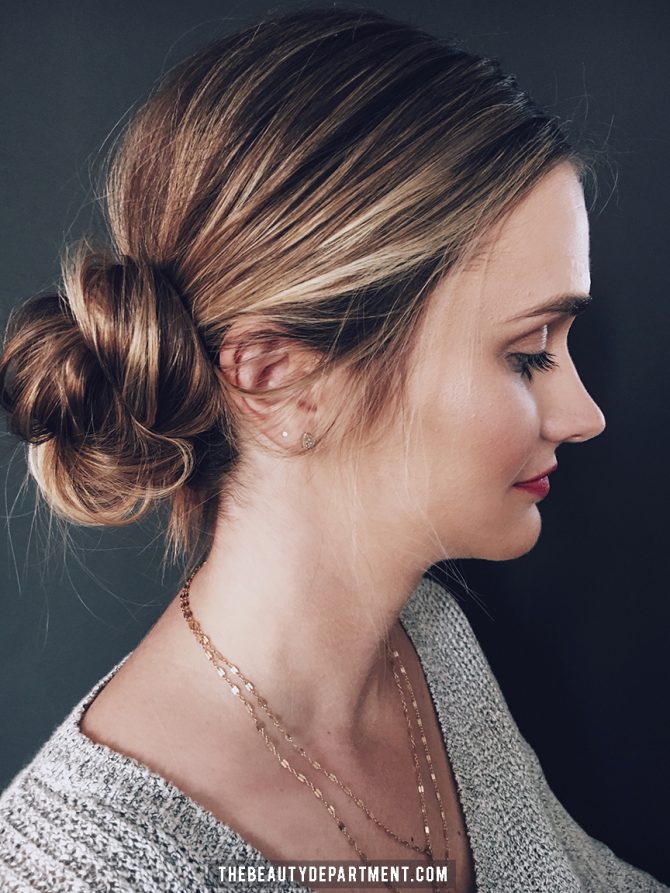
THE UNDONE LOOK
We love a sleek, tight bun around here but sometimes you want to ease up and go a more relaxed route, ya know? Problem is, a lot of people try to create an undone look and the hair kinda just comes undone. But I got you, my boos. There’s...
READ MORE
INQUIRIES
Welcome to The Beauty Department!
For questions, sponsorships, or any inquiries, contact us at:
info@thebeautydepartment.com
@THEBEAUTYDEPT
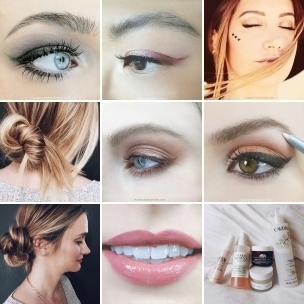
the latest
BROWBONE WORN THREE WAYS
The nerd in me...
READ MORE
2 MESSY BUNS IN 2 QUICK STEPS
OKAYYYYYYYYYYYYYY. I owe you...
READ MORE
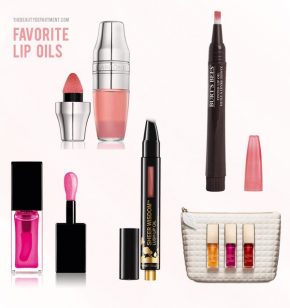
TINTED LIP OIL
Lip products are the...
READ MORE
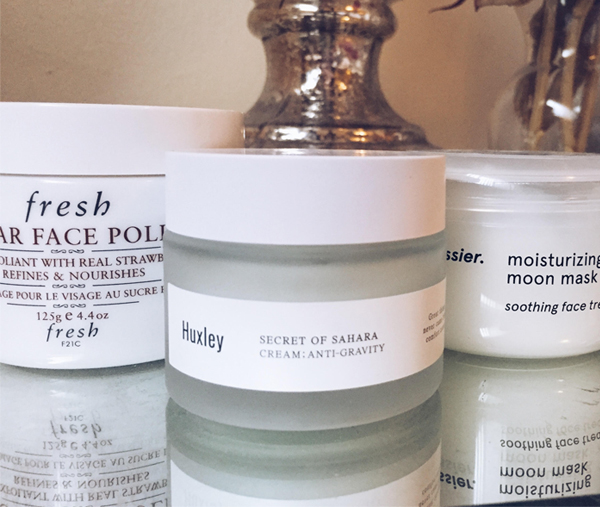
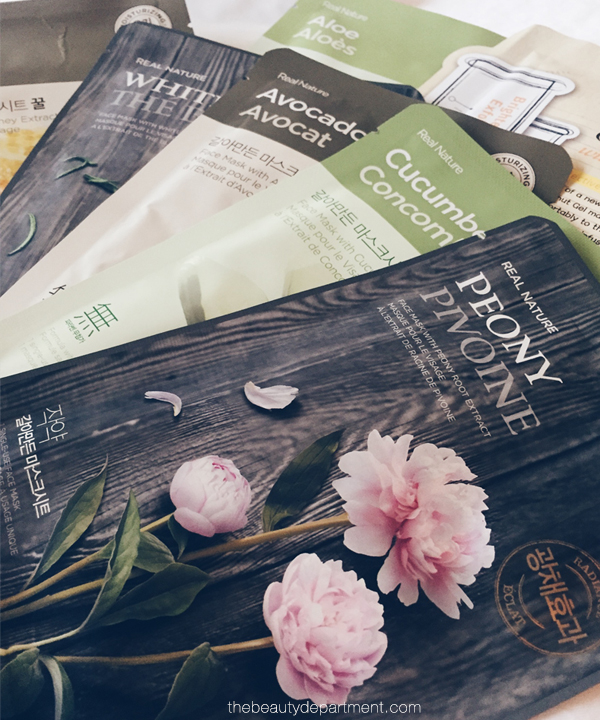
SKINCARE FAVES.
Hope everyone had a...
READ MORE
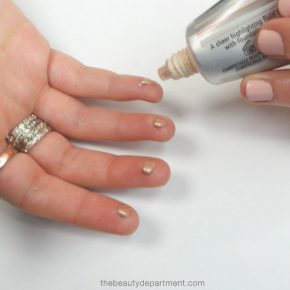
FAVORITE HIGHLIGHTING TECHNIQUE
I’ve noticed since Strobing...
READ MORE
FACE IT.
Face it, every now...
READ MORE
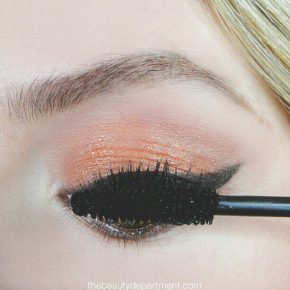
THE LASH LOCK: NO SMEARS, NO SMUDGES
Mascara doesn’t have to...
READ MORE
RIGHT HERE, RIGHT NOW
Shortly after college and...
READ MORE