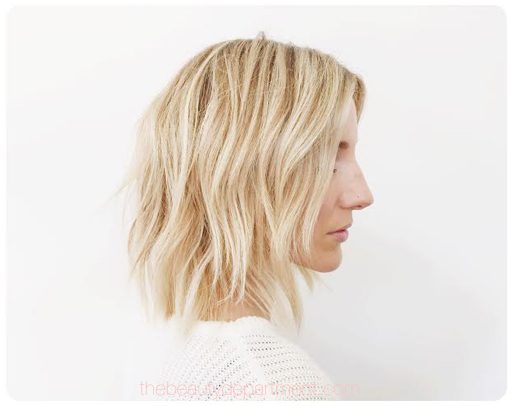
hair
MAPPING OUT FLAT IRON WAVES
photos: kristin ess, post: jessica swanson
photos: kristin ess, post: jessica swanson
So, you can knock out a full set of curling wand waves with one gloved finger tied behind your back? You still had time to ace that smokey eye after finishing bestie’s pull-through braid for Prom? Girl, we know you’re always up for a challenge, so we’re presenting to you our fave flat iron wave tutorial. There’s something just right about the look… not too precious or coiled, with subtle movement for manes both long and short. There might be several versions of flat iron waves out there, but this one gives us life! Here’s how to make it happen:
Before beginning, we prepped towel-dried hair with THICKENING SPRAY, then blow dried straight. This thickening spray helps to create the right amount of texture and a soft, sustainable hold. Keep in mind that once you’ve nailed your technique, it can also be an ideal way to touch up air-dried waves, or can be worked in with OTHER waving techniques.
Before things get heated, take a few minutes to practice with a BEVELED FLAT IRON while it’s still turned off (uh, ps: it’s on SALE! and it’s never on sale!). It’s important that you get the hang of the motions before adding heat, as this trusty iron has only one temperature setting. You’ll want to hit each section only once or twice at the most to avoid heat damage. The beveled edges of the iron are crucial for creating smooth waves, and help to avoid creating kinks in the hair. If you need more guidance on the steps below, go check out our instagram post right here!
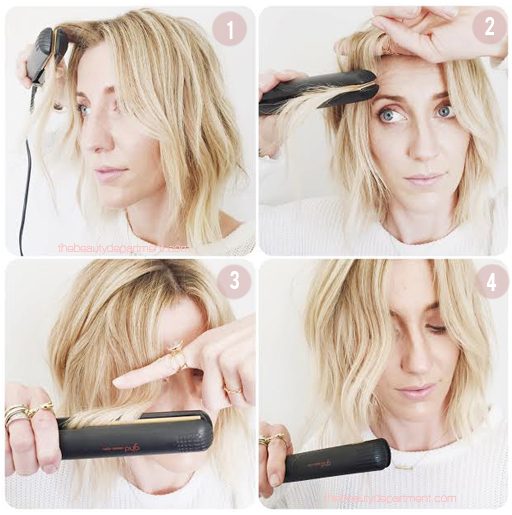
- To begin, hold a section of hair out from your head, and insert the flat iron at a diagonal, just below your scalp. Your waves will have natural, realistic movement if they are created diagonally towards or away from your face, or a mixture of the two. Gently close the iron as you curve it up and back down to form an arc.
- Because these waves are created using heat and tension, you’ll need to use a flat finger to hold the form of the previous arc, while you pull in the opposite direction to make your next wave. If your hair tends to slip, use two fingers to scissor the section instead. The second bend will be going the opposite direction, as we are creating alternating peaks and valleys. Just below the first arc, bend the iron down towards your head, then curve back up and release.
- complete the wave pattern that now should be visible with another arc curving away from the head, holding the previous bend for tension. You may have more length to wave here, but on this LOB we have reached the finish line!
- Slowly tap through the ends instead of bending them inward or too far outward to create a cool, modern finish.
To add just the right level of soft hold and enhance waves, we added a light veil of SOFT BEACH WAVE SPRAY, which while pricey, is just straight up the best! They also have a travel size available if you’re the type to dip your toes first. To truly nail the final look above, try THIS little hair hack after you apply your beach wave spray.
You’re ready to roll out! But maybe hide how good you are at this? Your girls are going to swarm, no doubt.
Don’t forget to tag us when you work those waves! @thebeautydept on insta.