hair
A MORE PHOTOGENIC BRAID
A MORE PHOTOGENIC BRAID // POST + PHOTOS: KRISTIN ESS
A MORE PHOTOGENIC BRAID // POST + PHOTOS: KRISTIN ESS
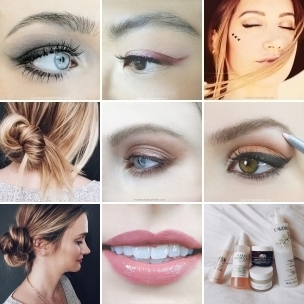
PIC OR IT DIDN’T HAPPEN. In this wild world of social media, braids have become a serious must on every fashion and beauty instagram, facebook, pinterest and twitter feed. If you don’t have photos of braids + flowers, you’re probably missing out on a whole lot of follwers and likes. While I can’t help you in the floral department, I can definitely help you in the braid department! Here are some of my favorite ways to prep and style a braid for a great photo.
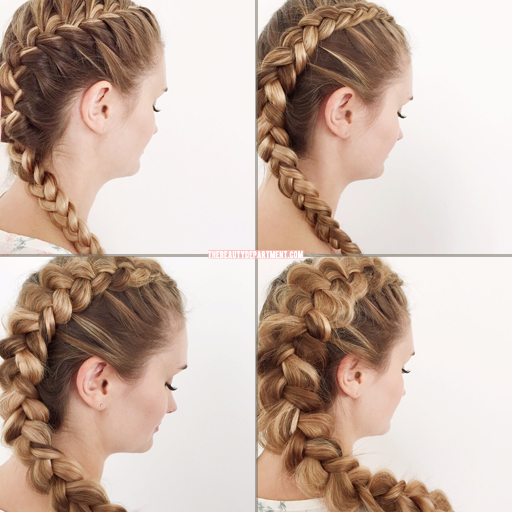
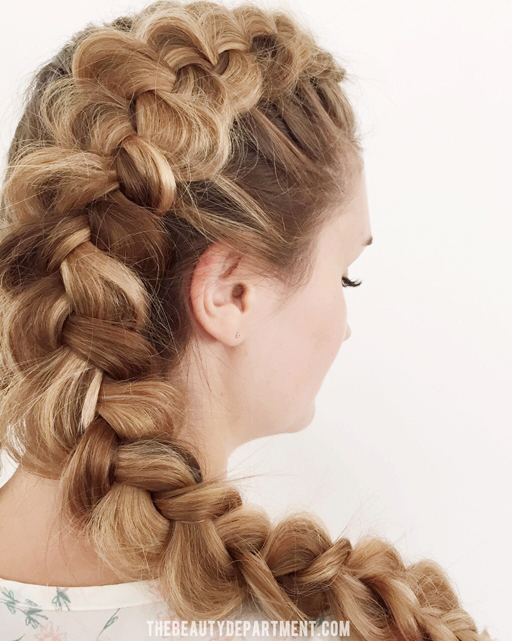
- For this particular post + tutorial, forget about the classic french braid (as seen above) for photos. Yes, it’s gorgeous, we know that, but most of it’s texture potential is hidden on the inside. The bulk of your braid gets tucked in when you do a regular french braid, so stick to inverted French braids (aka: Dutch braids) when it comes to photos because inverted braids put the bulk of the braid on the outside where you can see it (see next photo).

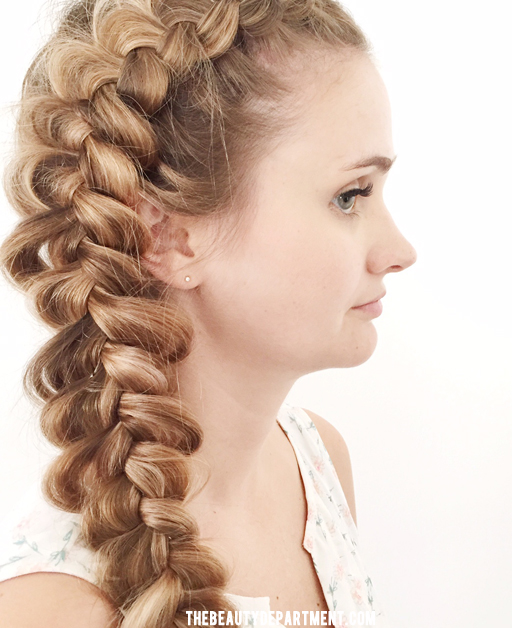
- See the difference? The thickest parts of the braid lay on top of the hair instead of being tucked inside. If you prefer the classic version, knock yourself out! I don’t discourage that! The only downside is that it can’t get as “fat” as an inverted braid, and bigger badder braids for photos is what this post is all about!
- To get a great braid, wash your hair with something that will give it a little texture. I like THIS SHAMPOO and THIS CONDITIONER for building a good braid foundation! Sometimes when I used those, I don’t even need to add much product!
- If you don’t want to change shampoos, then prep the hair with a product like this LIGHT HOLDING MOUSSE or a light OCEAN SPRAY before blow drying or air drying. You never want to prep with something too sticky or it will be very hard to braid.
- Everyone must learn how to “pancake” or gently pull a braid apart. This will help fatten it up. When you do this on an inside-out-braid/inverted braid, the fullness you can achieve is amazing. I like to take each loop, one by one, tugging first from the inside and moving to the outside of the loop.
- Always have plenty of TEXTURE POWDER on hand. Sprinkle a little on top of the braid before you pull it apart. I’ve talked about this in nearly every braid tutorial I’ve ever done. It’s my favorite. The powder has a lot of grit to it and really helps to keep that braid from falling apart when you’re tugging at it. It also helps anyone with lots of layers because if there’s texture powder on the pieces that go rogue, you can just tuck them right back in and they pretty much stay put.
- Don’t be afraid to pull the braid out to the max! If a couple little pieces fall out of the braid, let them or tuck them back into the braid! Messy braids are awesome!
- Always have THIS TEXTURE TOOL to get that extra texture-y glow. You may remember it from THIS POST! If not, you must read up!
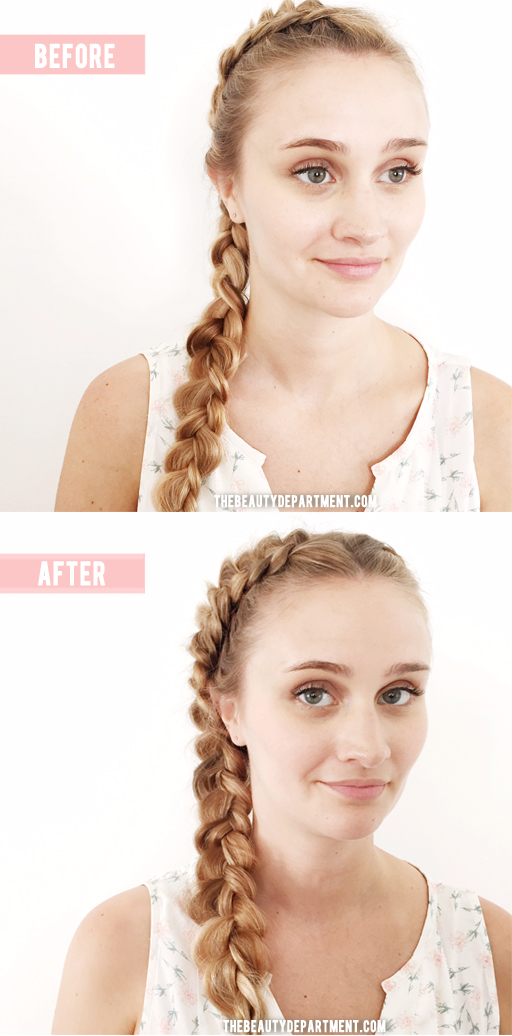
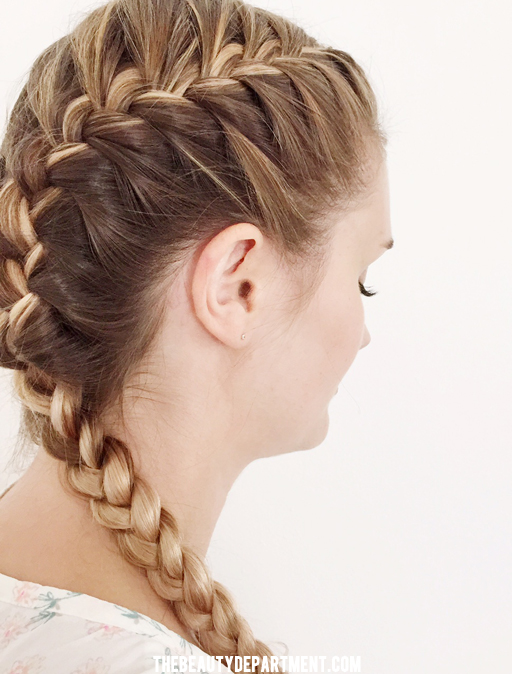
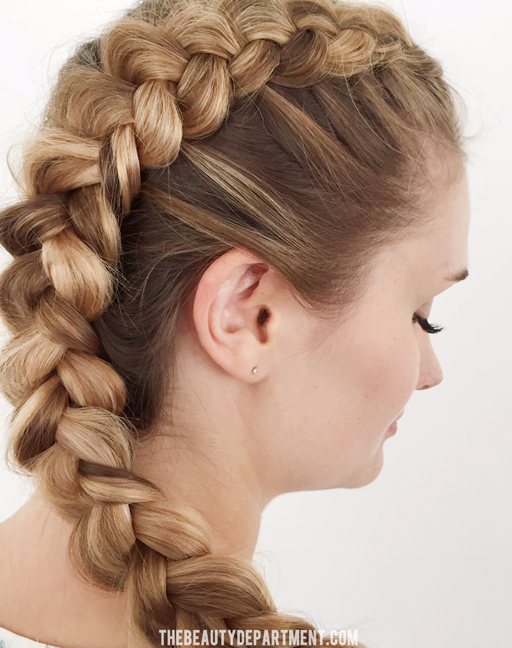
- Another thing you should always remember is that placement is important! Look at this before and after example. The braid up top is the same as the braid on the bottom, the one on the bottom just runs closer to the ear and the hairline. If you’re trying to get a good photo of a braid without turning full profile, braid a little closer to the front or the hairline. Otherwise, the braid seems to kind of disappear. If you’re photographing a braid from the back, then focus the majority of it back there.
- The fact of the matter is that braids just photograph better on dark hair with highlights or lighter hair with hightlights because you see more depth. Am I saying braids are not gorgeous on darker hair? Not at all. In person I think braids on darker hair colors are classic and beautiful and chic, but sadly we all know that texture-wise, they just don’t read as well in a photograph. You tend to lose the look in a photo because you don’t see all the twists and turns and dimensions of a textured braid as well on solid or darker hair colors unless you find some epic lighting. I’m not telling you that you should run out and color your hair, I’m just saying adding in a couple lighter extension pieces temporarily like we did back in THIS POST (braids for brunettes + redheads). It can help you get a stronger braid photo for your beauty blog or social media feed!
- Lighting is important as well. A skylight or natural lighting is your best friend when snapping a braid photo. You always want to see the curves and texture clearly when you photograph a braid so the more light, the better. Taking photos of your braids in the bathroom at night just doesn’t quite cut it anymore! Photo quality is important so shoot during the day and make sure your background doesn’t distract or take away from the braid. Solid backgrounds are always a good idea.
- Have fun with it! After you get the photo you want, add a funny accessory or pull the braid apart to the point where it’s disheveled! Sometimes those are the photos I end up using and liking the most!