makeup
A ROSY FLUSH
Yes of course you can use only one blush shade. But there’s something beautiful that happens when you combine a warm shade across the whole cheekbone, a cool shade to pop the apple and a shimmer shade to highlight everything! Sometimes a cool tone by itself can come off a little clowny and needs the support of a warm shade. Sometimes a warm shade doesn’t pop enough without a splash of a cool tone. And both cool and warm shades come to life with a little shimmer to draw the attention to the cheekbones. Here’s how to create a flush inspired by roses:
TOOLS:
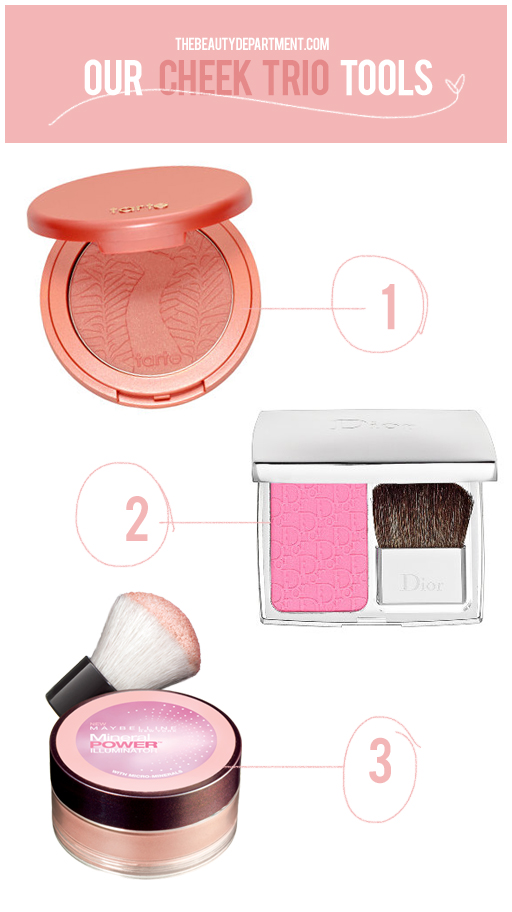
- A Warming Shade — I used Tarte Chic to Cheek Amazonian Clay Blush in Classic (check out the value in this holiday set!) but you can use any warm-toned powder blush. Think peach, warm nudes or apricots. I used the Charlotte Tilbury Powder & Sculpt Brush because of its perfect shape to apply then blend back and forth on its side.
- A Pop Shade — I used Dior Rosy Glow Awakening Blush in Petal but again, you can use any cool-toned powder blush. Think pink, fuchsia… anything blue based. I love to use this MAKE UP FOR EVER Blending Blush Brush for swirling on the apples of the cheeks.
- A Highlighting Shade — I used Maybelline Mineral Powder Illuminator but you can use your favorite highlighting shimmer powder. I used the Armani Round Eye Contour Brush because it’s really fluffy like a blush or powder brush but gives way more precision.
STEPS:
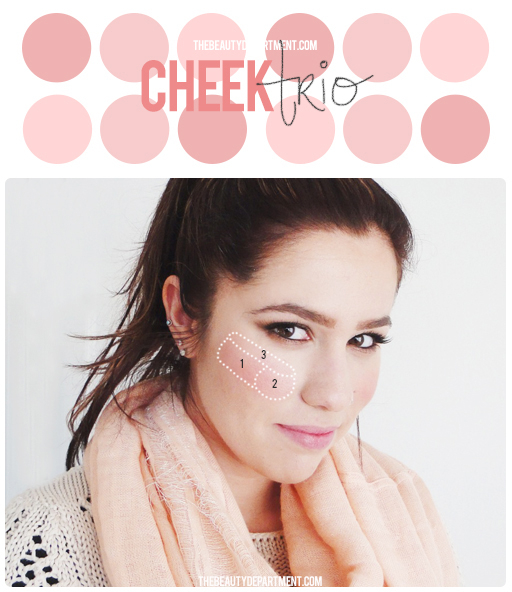
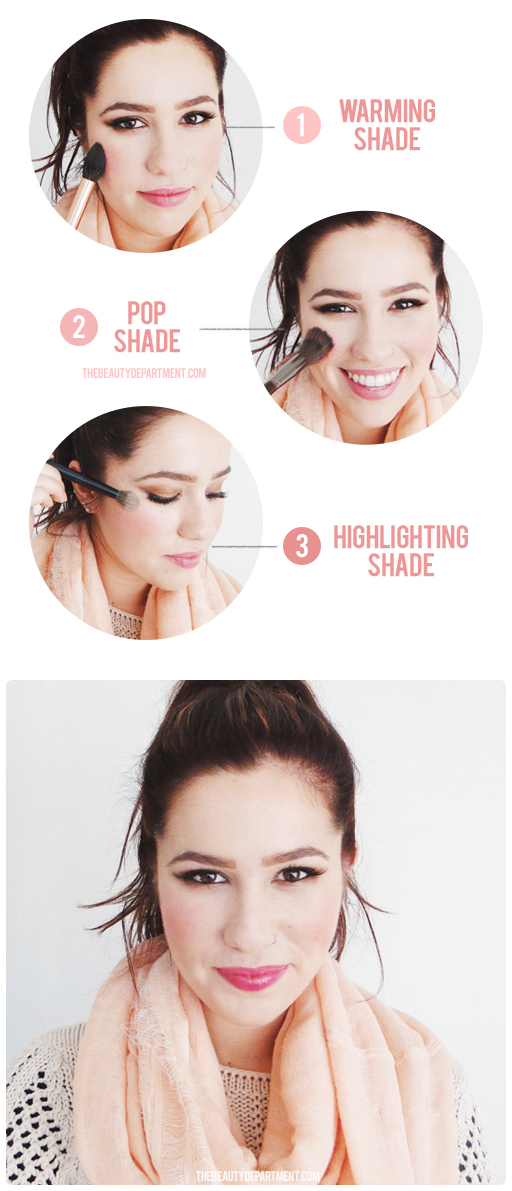
- Sweep the warming shade across the entire cheekbone, including under where #2 is applied above.
- Swirl the cool shade in a circle on the top half of the apple that is circled on Magali above. (To find the apple, smile in the mirror and it will pop out like a little ball.)
- Finish by tracing the highlighting shade on the top half of the cheekbone, just under the eye area.


