hair
HALLOWEEN HAIR
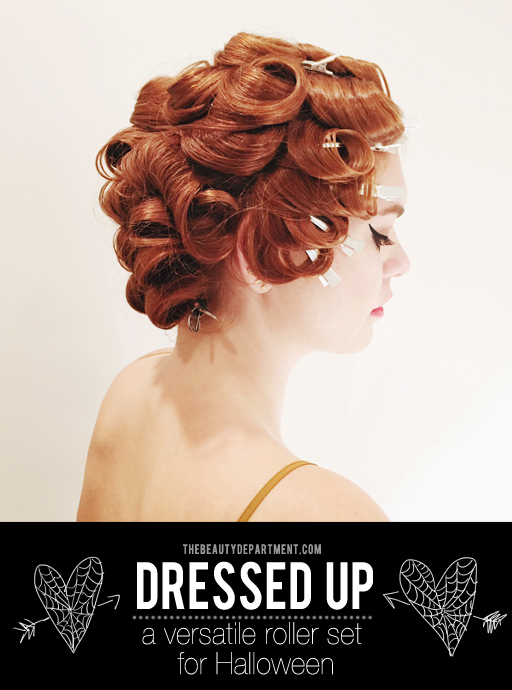
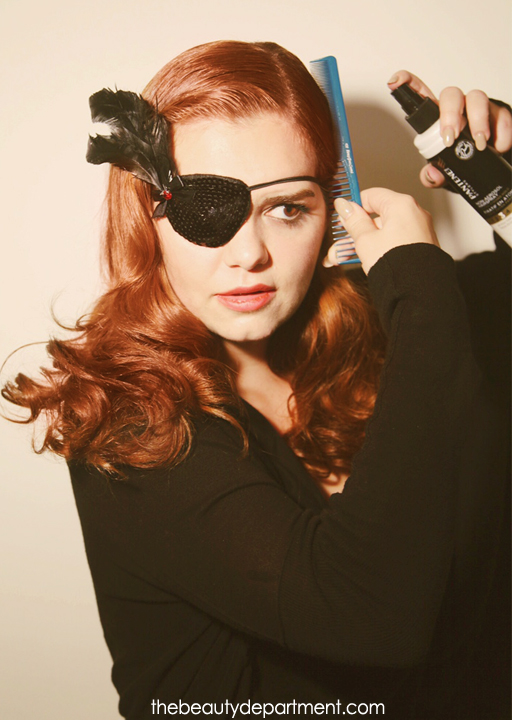
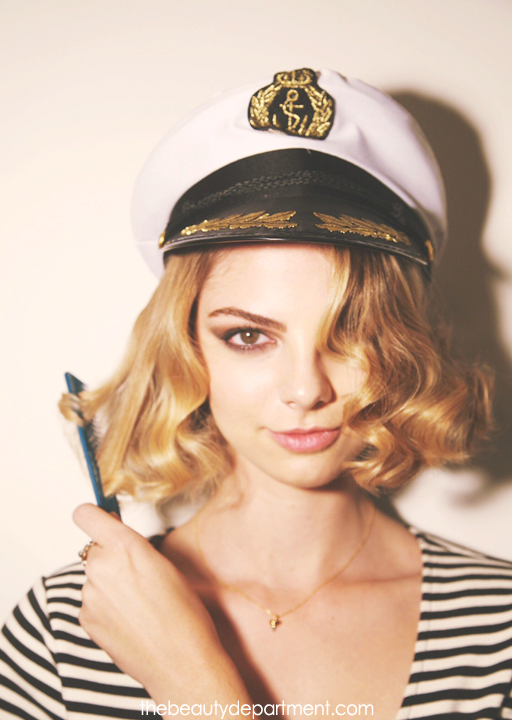
As we know, many of you last minute lovelies will be scrambling this weekend for a Halloween costume. The one thing you won’t have to scramble for is hair to pair with it. We’ve got you covered! Whether you’re going as your favorite character, a cute little animal, a pirate, a cop, a nurse, a goddess, whatever! This tutorial will do the trick. You can spray this hair with white powder to give it that ghostly feeling or you can lay on the shine for added glam. In this post, we’re demonstrating what it looks like on long and short hair so anyone can do it. We’re very excited to partner up with out friends at PANTENE again to bring you this tutorial and we’ve included links to all the product so you can see what you’ll need to make this Halloween hair happen! Here we go…
Setting it!
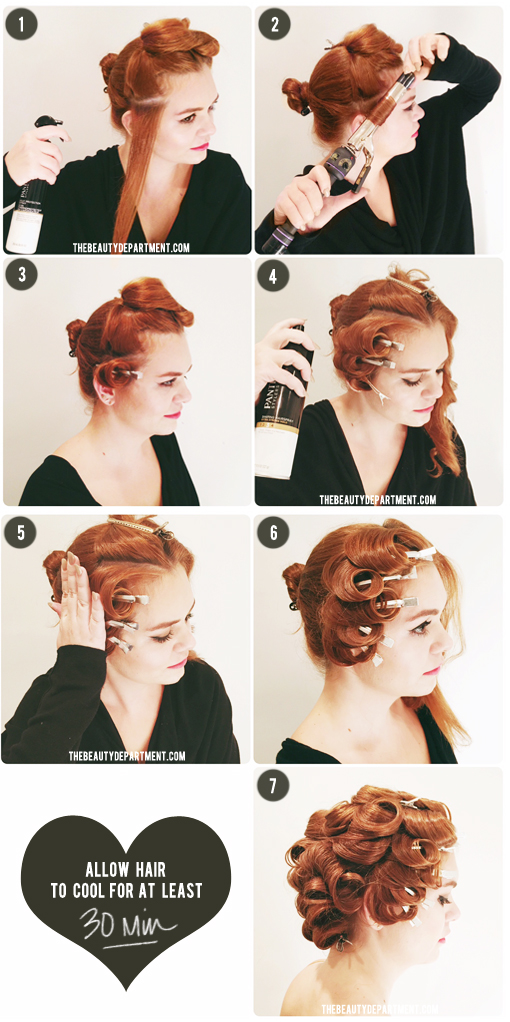
For this tutorial on long hair, use a 1″ curling iron. For the short hair version below, we used a smaller 3/4″ curling iron.
- Any time you set hair using a hot tool, it’s highly recommended that you use a heat protectant. You’re going to want to let your hair sit on the iron for a couple seconds longer than you normally would with an everyday curl so protect it! Here we’re using THIS ONE.
- You’re going to want to think “diagonal’ throughout this roller set. All of your sections will be parted diagonally and your curling iron should be held diagonally. Use a tail comb and create a small diagonal section for your first curl. I like to start in front and work my way back, personally, but you can start in the back if that’s more comfortable for you. So we parted this section from about the temple, diagonally going back to behind your ear. The section should be about 1”. If you’re using a 3/4 iron for shorter hair, your section should be just under an inch. Always take sections about the same size as your curling iron. Now once you have your heat protectant spray on, roll hair from the bottom, up (curling under) and keep the curling iron at a diagonal angle. If you can’t remember which way it should go, just think about lining your curling iron up with your section parting which should be diagonal as well. Each curling iron brand is different so I can’t tell you how long to hold it on there, but you want to make sure it gets nice and hot.
- Once you feel the hair is properly heated, take the hair out of the iron and immediately set it with a clip.
- After doing about 3 or 4 sections, I like to spray the hair with a strong holding hairspray for extra support. Here, we are using THIS ONE.
- This is a little tricky, and it’s totally optional, but when the hair has slightly cooled and then after it has been hairsprayed, I like to push the sections back and make them lay flat. This is my personal preference so that the waves end up having a more “S” shape versus being “poofy”. All you do is lay your hand flat over your section and push back lightly. The sections should fall back (like dominos) and flatten out. Again, this is optional and you don’t have to do it if you want more width– it’s more for those with thick hair that tends to get too wide.
- Once you’re done with a section, and you’ve flattened out your pieces if desired, your section should look like this and you’ll be ready to move on to the next side.
- You’re going to want to do this exact same thing all around the head. Make sure you can see the back as you do it. If you need to get a friend to help you with the back, do it! The pattern is so important. Allow your full set to cool for at least 30 minutes! You shouldn’t be able to feel any heat or warmth at all when it’s ready.
Now for the take down. This is where you get to play and make it whatever you want! Below we’ll showing you 6 ways to take this down and finish it…
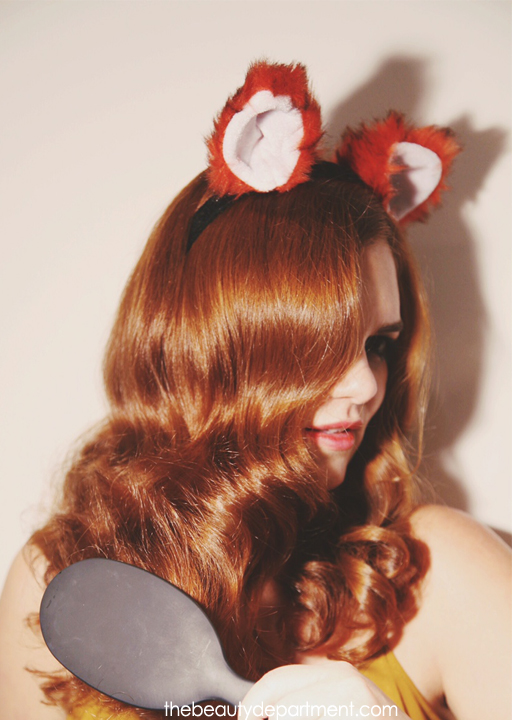
BRUSHED FORWARD!
- remove clips from your roller set.
- use a smoothing brush and brush everything forward. brush for about one full minute and you will start to see the pattern develop. once you start seeing it, spray lightly with a strong holding hairspray. keep brushing each section and spraying until you see it all come together.
- most of the hair will come forward over your shoulders with this look.
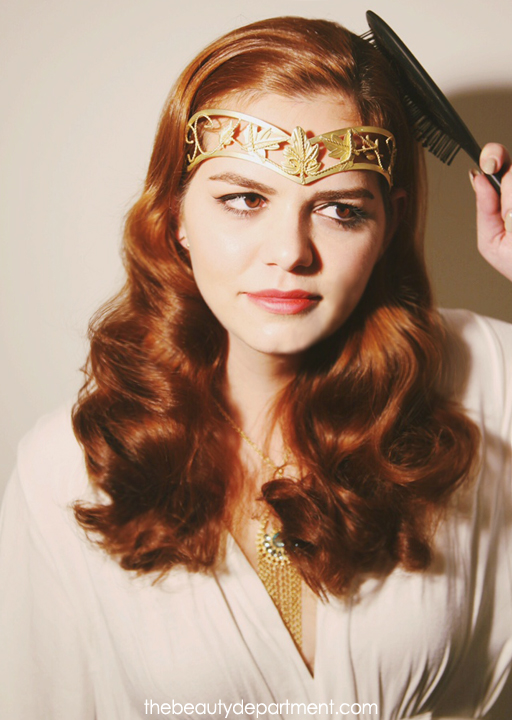
BRUSHED BACK!
- once you take the set down, brush everything back over your shoulders.
- keep brushing until the pattern develops.
- spray lightly with a strong hold hairspray.
- pull the ends back over your shoulders to the front if you want! but keep the top portion going toward the back.
SPRAYED AND SLICKED.
- once you take the set out, spray the top half with a generous amount of non-aerosol hairspray. here we’re using THIS ONE.
- take the fine side of your comb and slick the hair down.
- pin it if desired.
- spray the bottom with a strong holding hairspray.
COMBED OUT WITH YOUR FINGERS.
- remove clips from your roller set.
- gently run your fingers through your curls to break them up.
- spray strong holding hairspray all over to complete the look.
COMBED OUT WITH A WIDE-TOOTH COMB.
- once you’ve taken down the roller set, use the wide-tooth side of your comb to brush the curls.
- spray a light veil of shine spray for added sparkle!
- finish with a strong-holding hairspray.
BRUSHED OUT AND PINNED.
- remove the pins from the roller set.
- brush everything straight down and then back comb just a little for added volume.
- we made this one a little less shiny by spraying dry shampoo all over.
- give it that vintage look by twisting a piece back in the front and pinning it!
- last but not least, give it a final veil of strong holding hairspray.
These hair ideas can seriously be used with almost anything. It can be really fun to pair a “scary” costume with pretty hair, especially if you’re seeing someone spesh on Halloween. We know a bad Halloween picture can haunt you forever. This hair will photograph beautifully and won’t look like a mess the next morning. We hope you’ve enjoyed these 6 looks! If you do pair this tutorial with your costume, please tag us in your instagram photo @TheBeautyDept or @PanteneHair so we can regram it! Excited to see what you pretty peeps are going to be!
All products used in this post can be found right HERE! Special thanks to Alicia and Allie for sitting in on this tutorial and to Carissa for the pretty makeup looks!


