hair
HEAVY SIDE PART
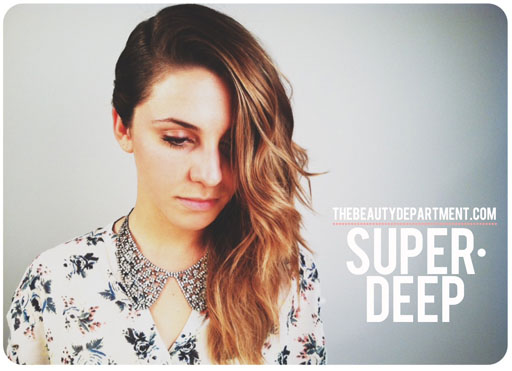
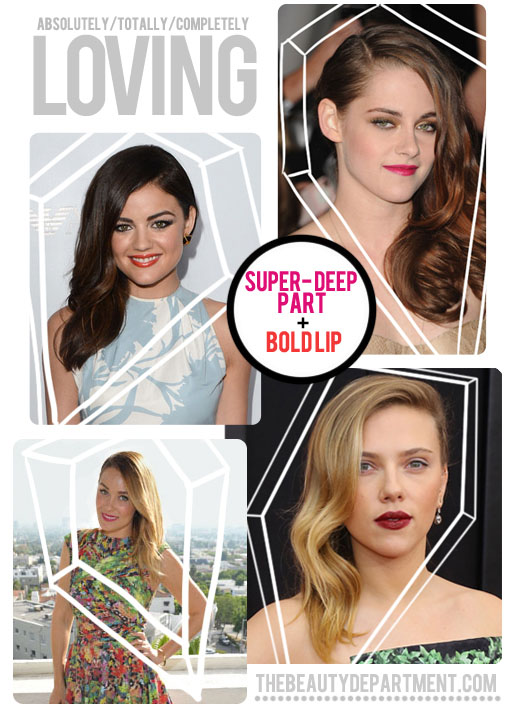
Obsessed with this side-heavy look- and as you can see below it’s all over the red carpet. It’s kind of got this sort of 90’s feel to it which I’ve really been digging. The weight of the hair feels very a-symmetric and it takes a whole 15 min to create this look. Here’s how it’s done:
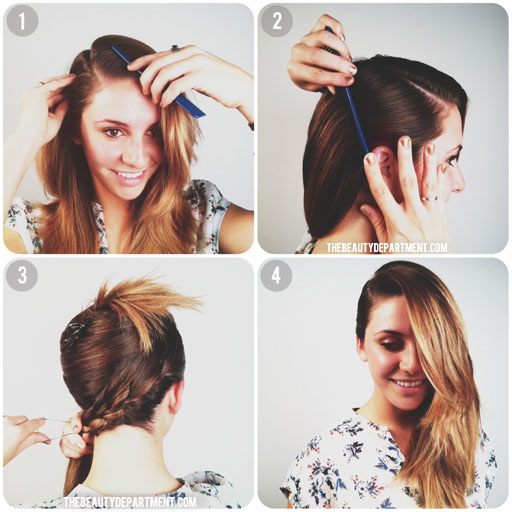
- Find your super-deep part. Try lining it up with the very outside of your brow first. If that feels like it’s just too much, go a little closer in and line up with the arch of your brow.This could potentially feel a little uncomfortable at first if you’re not used parting so far over. If you really hate having that deep side part or if your hair just won’t cooperate for some reason, try doing what I did on Lucy Hale below– see how I went on a diagonal? It starts a little closer to the center and then diagonally goes into a heavier part. This way you get all the weight of the hair on one side but it doesn’t feel overly swooped. Don’t be afraid to take a blowdryer to it to get it to behave!
- Use the finer side of a comb + some strong holding hairspray to make the side tight as you see in photo 2. Don’t over spray, you just want the hair close the head and the fly-aways to stay down. If you really wanted to go for a sleek side, you could gel it and give it that “shaved side” appearance which feels equally edgy + girly!
- Now split the hair diagonally from the back of the part to the opposite corner of your neck. Start the braid behind your ear and go down and around as you see in photo 3. Use a tiny clear elastic to secure the braid on the opposite side of your neck. This elastic will be hidden underneath the other side with all the hair.
- That’s it! Now you’re free to create whatever texture you want on the heavier side– smooth waves, messy waves, curl, straight, anything you like. Personally I like the messy waves with a little volume (like you see in the very top photo) but you really can do this using any natural texture.


