makeup
WHY NOT…

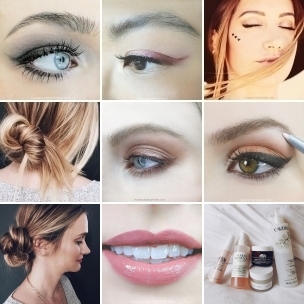
photos + post by amy nadine, graphic design by eunice chun
photos + post by amy nadine, graphic design by eunice chun
We continue our Why Not? Series with this fun one that will really wow your friends! It’s such a playful and creative take on winged-out liquid liner and easy to do with this DIY stencil. After trying to make the scalloped edge with a hole puncher {too small} or drawing it freehand {might work for a lot of you but didn’t for me}, I remembered this heart pattern that I used to doodle all over my notebooks in high school and wondered if the top half could make a nice scalloped edge… and somehow, it did just that! You’ll find this one easier if you enlist a friend to do it on each other, so I borrowed my friend Areana and here’s what we did!
TOOLS: Index card, business card or scrapbook paper, pen, small scissors, liquid liner {any color will work; we used this one}, pointed q-tip.
- On a small piece of scrapbook paper, copy the heart pattern above by drawing a heart that continues into an upside-down heart that becomes a right-side-up heart and so on {so much fun I could do it for hours!}. Do it diagonally from one end of the paper all the way across to the opposite side.
- With a pair of small scissors, cut along the top side of the hearts to create the stencil.
- Place the stencil along the upper lid, just above the lash line and fill in the spaces with the liquid liner, starting in the inside corner and going a few “scallops” out past the lash line. I placed the stencil straight for the lash line and at a slight diagonal for the “wing.”
- Go back with the liner and sweep it along lash line to connect the semi-circles.
- Smooth out any mishaps with a pointed q-tip. If the liquid has already dried, dip the q-tip into eye makeup remover first.
If you love to think outside of the box and march to the beat of your own drum, this one’s definitely for you!