makeup
OH LA LASHES

photos + post by amy nadine, graphic design by eunice chun
photos + post by amy nadine, graphic design by eunice chun
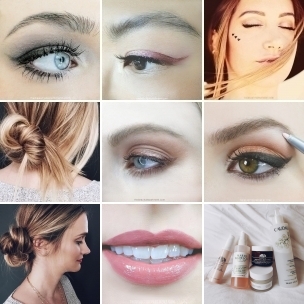
This fun DIY project is to show you how many options you have with false lashes and the degrees of drama that come with each. You don’t have to buy accent or individual lashes when you can just make your own by cutting them however you wish.
TOOLS: Ardell Demi Wispies False Lashes (those are my favorites but you can use any style), Small Scissors, DUO Lash Glue (I prefer the clear/white shade so it dries clear)
HOMEMADE INDIVIDUALS: Cut them in between any groupings (some groupings have more hairs than others). I used three on my assistant Carissa but you can use as many/few as you like. Notice how with individuals you can flare them outwards more for a winged effect. **TIP: let the glue get “tacky” for 2 minutes so you can literally just stick them on the lashline and they won’t turn or slide.
HALF (ACCENT) STRIP: Cut the strip in half and use either end (I prefer the end that would have been on the inside corner even though you’ll place it on the outside corner). Trace the glue along the band, wait two minutes, place it directly on your lash line then squeeze the false lashes together with your own lashes using your index finger + thumb. Notice how the lashes “sit up” more when they are bound together as opposed to when they are by themselves.
FULL STRIP: Again, let the glue get tacky for two full minutes then place directly on lashline. Notice how the lashes sit up even more and appear longer when they are all attached on a long strip. **TIP: if the strip is longer than your lashline, hold it next to it for sizing then trim off the excess length. I also went in and trimmed around a few of them to make a few “wispies” longer than the rest.
The possibilities are endless. For some red carpets, I use a full lash strip then add an accent half strip on top of it on the outside corners for extra drama. Have fun!