hair
DID SOMEONE MENTION EXTENSIONS?
Most of us have either tried extensions or are curious and want to try them. Extensions are so common at this point that I wouldn’t hesitate to say 99.5% of the women you see on a red carpet or in magazines have them. I mean, extensions just make hair more photogenic– that much we know. But what we don’t really know or talk about is how to take care of them once you have them. And we NEED to because they sure aren’t cheap! You should always get major mileage out of your investments and hair should be no exception.
- SOFT EXTENSION BRUSH – Best brush for clip-ins and tape-ins. Gentle bristles detangle but don’t have beaded ends, therefore they won’t get stuck in the base of your extensions.
- LOOP EXTENSION BRUSH – Use this brush to avoid pulling on individual extensions. the bristles are made up of little loops so they never catch on the bonds and pull your extensions out! Big game changer for those with individuals.
- EXTENSION HANGER – Okay, so they sell these hangers at beauty supplies for around 30 dollars. No thanks. We found them for way cheaper. This is what I use in my personal hair closet in my studio for clip in extensions. You basically clip the extensions in at the base… just like you would a pair of pants. When the extension hair is hanging you can blow dry and style, too!
- EXTENSION STORAGE – If you have straight extensions you absolutely need this extension holder.
- SLIP PILLOW CASE – Jury was out for me on this for a while, but I have noticed a huge difference in my hair staying styled overnight with this pillowcase. Worth the money? I say yes, but that’s only because I hate washing and blowing out my own hair. HA!
- DIY CLIP IN KIT – If you ever notice one of your clips coming loose on your clip-in extensions, don’t worry– you’ll have this kit to make any necessary repairs. So cheap, too!
- FEATHER RAZOR – Okay, easy tiger. Don’t get crazy with this thing. It has little “teeth” so first of all you’re not going to cut yourself. It’s not the same as the straight razor. It’s V diff. I use this on the bottom 1 or 2 inches to make the extensions a little more jagged on the ends. They usually come a little too blunt for me but you can VERY carefully notch into them with a feather razor to create more legit texture. Do it while the extensions are on the hanger, not in your hair.
- SATIN BONNET – Necessary for anyone with sewn in tracks. If you have your hair styled and you need that style to stay for multiple days, you have. to. have. a. satin. bonnet!!! Sleep with it on. Who care’s how it looks, you’ll look like a million bucks in the morning. BY THE WAY… I happen to think sleeping bonnets are cute AF.

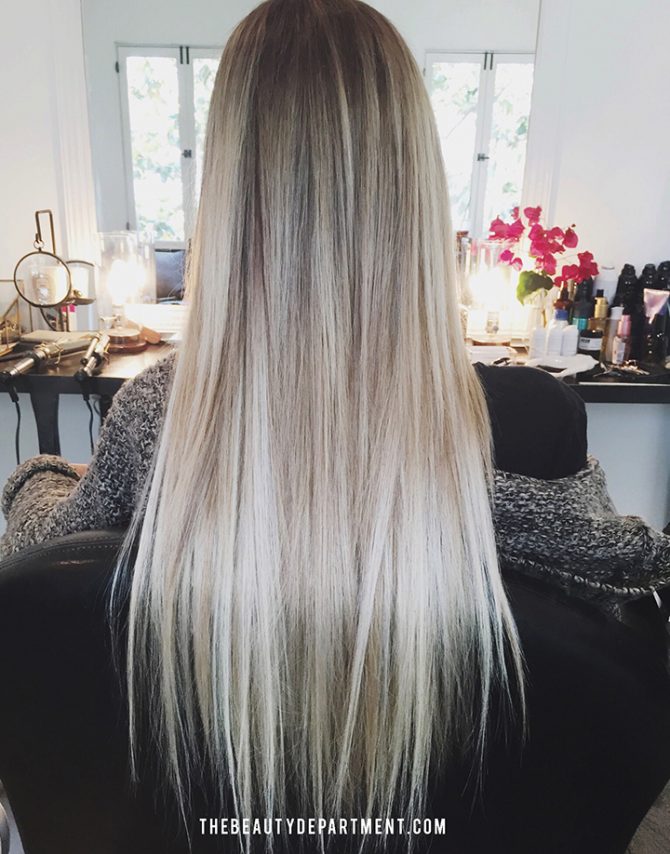
This is a perfect visual for razored ends. See how it just makes everything a bit more blended and believable? That said, DON’T get all Erica Scissorhands on me. Start slowly because you can always razor a little more, but you can’t put it back on!
One last thing I want to address is how to wash your clip-in extensions. I like to do them piece by piece. I use a lightly clarifying shampoo and a conditioner that has a lot of slip. I wet the piece in the sink, add a little shampoo up near the weft/clips, add a drop of water, emulsify VERY gently and then rinse. Repeat that process with conditioner. The goal for me when washing extensions is to keep them as detangled as possible the whole time I’m washing them. Never rub them together vigorously. That causes so many problems. Be super gentle when you wash. Towel dry, spray some leave in conditioner, comb through and then let them airdry or blow-dry.