makeup
MICRONEEDLING 101
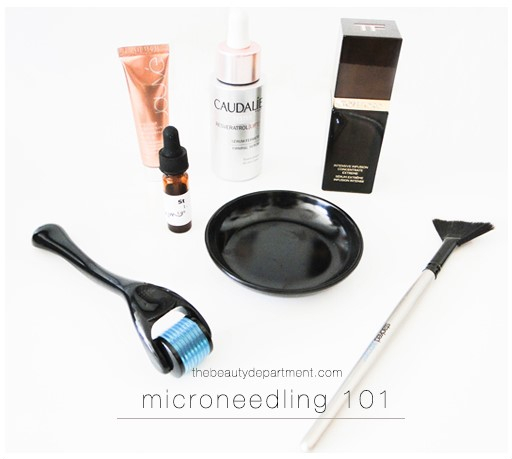
I tried microneedling by a professional a few months ago (thank you Mashell Tabe!) and have loved watching the transformation in my skin by continuing it at home 5 x a week. It plumps up the skin, making my fine lines look less visible. How? By activating epidermal growth factors kind of like a superficial acupuncture (think about it, if you get a little cut somewhere, your body sends all of its healing agents to the cut to repair it). A derma roller typically has over 500 stainless steel microneedles that roll over you skin making mini punctures as it goes. This benefits you in two ways: first it signals to your body to send healing soldiers to aid in collagen production and second it helps the serum penetrate deeper. Here’s how to do it at home:
TOOLS:
- A Derma Roller: My favorites are this one that comes with serum ($$$), this one used above ($$) and this budget-friendly one ($).
- A Water-Based Serum: I love this oil-free serum ($$) , this water-based serum ($$$) and this Korean water bank serum ($$). I also love this anti-acne serum ($$).
- A Hydrating Serum: This oil-based serum ($$$) is the most amazing serum I’ve ever tried but I’ve only tried it because they sent it to me! It’s an investment for sure but if you really want to spoil your skin, it’s the one. I also like this tightening serum ($$) that instantly blurs fine lines. This deep hydration serum ($$) has saved me in the dry winters.
- A Fan Brush (optional): You can use your clean fingers to apply the serum, it just feels really decadent to apply it with a fan brush ($)!
I was very afraid of the needles but it didn’t hurt and actually started to feel good LOL. I like to do it in the morning after showering because it really plumps up my skin for the day.


