makeup
DRAW, SMUDGE & SMEAR!
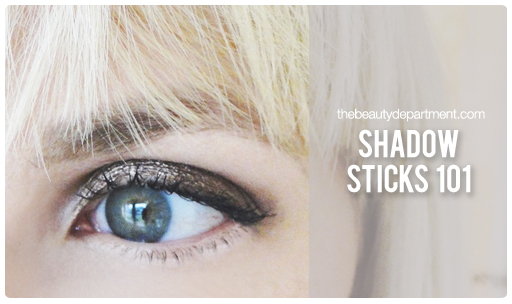
When shadow sticks came along a few years ago, the makeup industry was changed forever! They put the intensity of a cream shadow into a rounded stick that glides with ease. Then they formulated them to be smudgeable for a minute then set and last for hours without fading. Like all makeup, you can apply them however you prefer. I’ve found that if you want to make sure it doesn’t crease in the crease, this is the way to apply it. And the trick is not to apply it into the crease. Instead, only apply it on the lid, then smear and smudge it with your finger into the crease creating a slow fade. Here’s how:
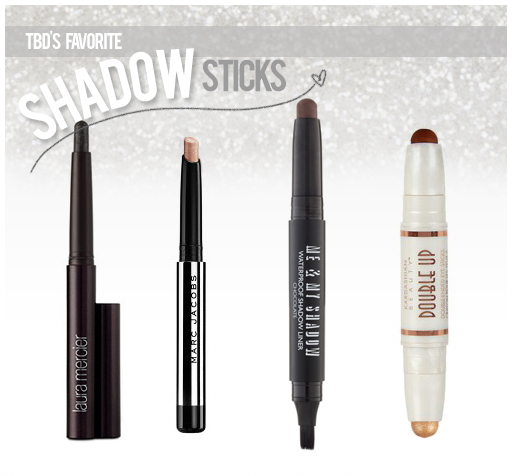
OUR FAVORITES:
- Laura Mercier Caviar Stick
- Marc Jacobs Beauty Twinkle Pop Eye Stick (used on Lacy in Au Revoir)
- Eyeko Me & My Shadow Waterproof Shadow & Liner Stick
- Kardashian Beauty Double Up Eyeshadow Stick
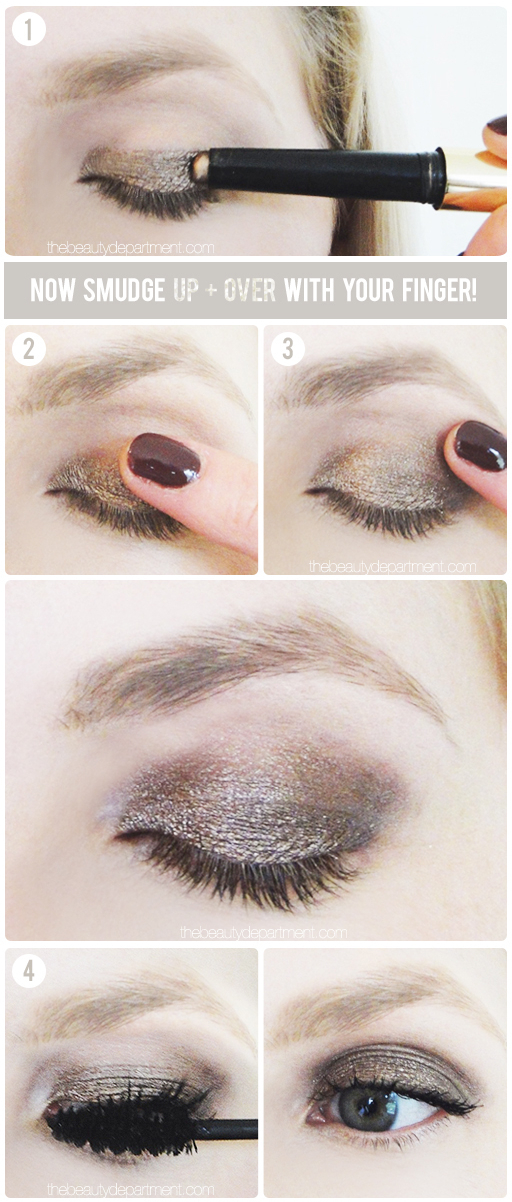
STEPS:
- Directly from the tube, draw across the entire lid as demonstrated on Lacy below. Leave the crease bare.
- Place your finger on top of what you just drew and start to smudge it upward into the crease.
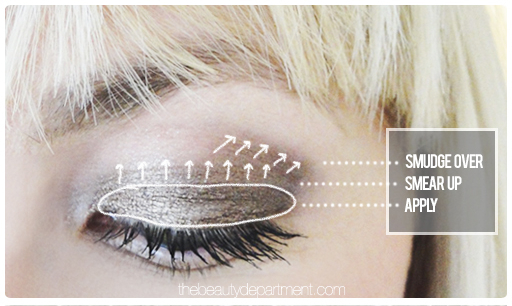
- Now that you’ve smudged it into the crease, start to “drag” or pull it towards the outside corner of the crease. See the diagram below.
- Apply a couple coats of mascara and you’re good to go!
If you prefer brushes over your fingers, you can absolutely use one to blend the shadow up in step 2 and over step 3, but with your finger, you have the advantage of your body temperature to help move the product around better. You can also apply it to the bottom lashline if you wish. Just trace along it with the stick then smear it gently with your finger or a Q-tip.


