makeup
AT HOME FACIAL SERIES
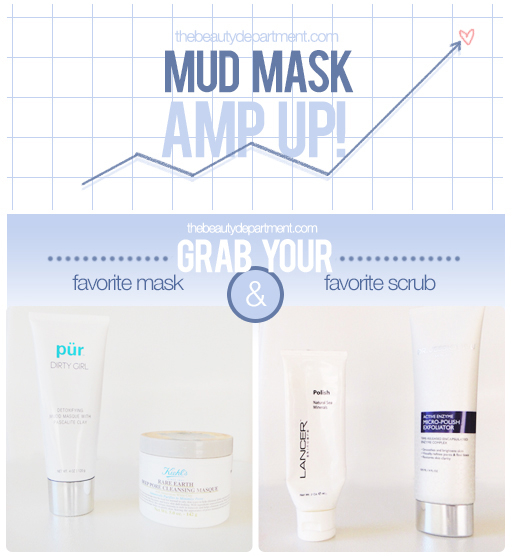
We’re kicking off our At-Home Facial Series with my favorite secret for amping up a detoxifying mud mask and leaving your skin polished and glowing! I’ve been doing it for years and there’s nothing like it! So when you don’t have time or the room in your budget to visit your facialist, take your mud mask to another level by adding a product you probably already have in your bathroom cabinet. Here’s how:
- Your Favorite Mud Mask: When I really want to pull all of them impurities out of my pores, Pur Dirty Girl Mud Masque is my go to and tightens everything up like nobody’s business. (And I found it on sale at the link above!) I also really love Kiehl’s Rare Earth Pore Cleansing Masque because it really minimizes my pores (which are the size of Texas!).
- Your Favorite Exfoliating Scrub: My favorite micro-scrub is Dr. Jessica Wu Active Enzyme Micro-Polish Exfoliator because it not only removes all the dead skin cells but also has enzymes and lipids to plump everything up. I also love Lancer The Polish because it warms up as it’s scrubbing.
STEPS:
- Squeeze a generous amount of the mud mask onto your fingertips and rub them together.
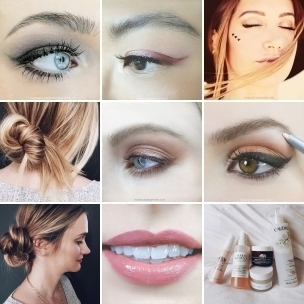
- Apply all over face as demonstrated on Alyssa above. Wait 15 minutes or until it dries completely.
- Now don’t rinse yet! Squeeze a generous amount of the scrub onto your fingertips and rub together.
- Apply the scrub directly on top of the dried mask and start rubbing it in circles as you move across your facial area. This does two things: it breaks down the mask but more importantly, it helps remove dead skin cells while your pores are already cleaned.
- Now rinse by splashing with cool water. You can use a wet wash cloth or muslin cloth as well.
Your skin will feel incredibly soft and smooth like you just had microdermabrasion! If you have sensitive skin, test this process on a small area to make sure it’s not too irritating.


