makeup
HIGHLIGHTER AND BLUSH DUO
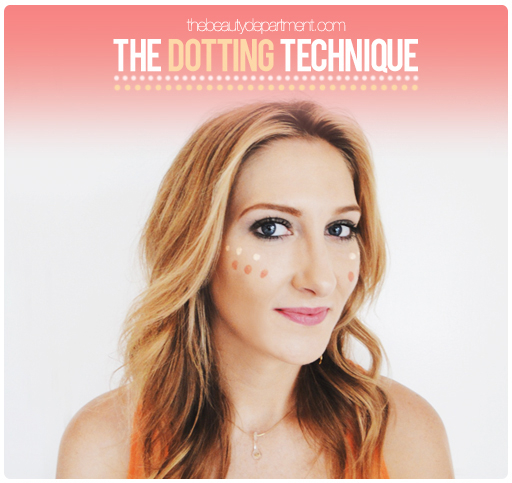
Liquid blush is the best way to create a natural-looking flush. It melts into the skin better than cream or powder blush. Liquid highlighter illuminates your eyes better than powder highlighter can. Basically, liquid is the way to go. And dotting, blending and stippling are how we get it done.
TOOLS:
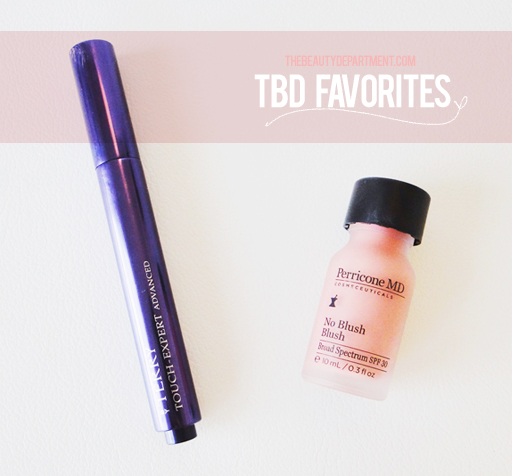
- Your Favorite Liquid Highlighter — I used By Terry Touch Expert Advanced Formula because it has twice the active ingredients to erase all signs of fatigue. I also love Covergirl Ready Set Gorgeous Concealer and Elizabeth Arden Flawless Finish Correcting and Highlighting Perfector.
- Your Favorite Liquid Blush — I used Perricone MD No Blush Blush because it really melts into the skin and looks like a gorgeous flush. I also love Daniel Sandler Watercolour Fluid Blusher and Rimmel London Stay Blushed Blusher.
- An Egg-Shaped Sponge — I used the one and only Beauty Blender The Original.
STEPS:
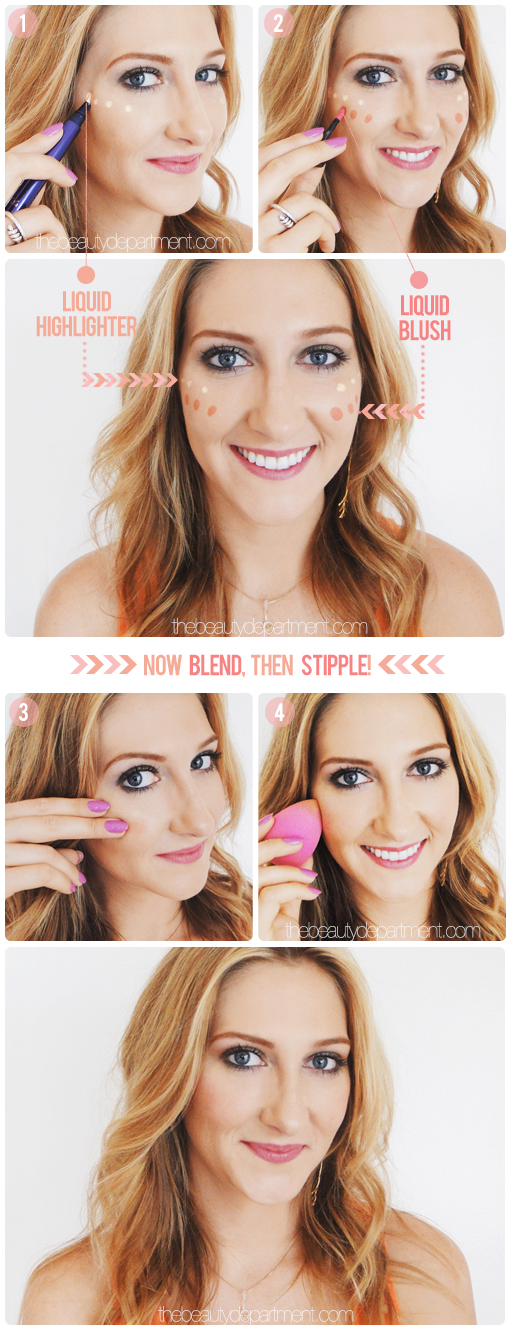
- After you finish applying your foundation, dot the liquid highlighter just above the cheekbone and under the eye socket as demonstrated above. Don’t over-dot or make the dots too close together as you’ll just end up wasting product.
- Dot the liquid blush along the top half of the cheekbone below the liquid highlighter as shown above.
- Blend the dots into the skin, one row at a time, starting with the highlighter. Or blend them both at once using a separate finger for each.
- Stipple the sponge by pressing it multiple times quickly over the area. You can use the same sponge you used to apply your foundation with or a fresh one that has been dampened and wrung out in a towel.


