hair
RODARTE INSPIRED BRAID TUTORIAL
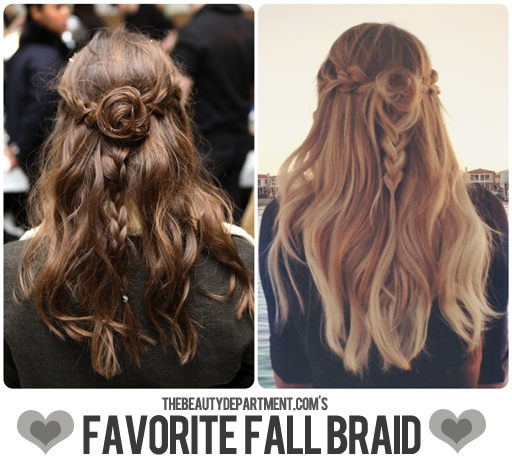
Earlier this year, Rodarte ruled the runway again. Every beauty site went crazy for the beautifully messy rosette braids. We wanted to do an actual tutorail on how you can get this look and make it wearable for the fall. I love that it’s a half up/half down ‘do because in colder weather, we can use the shoulder coverage for added warmth. Below is a very detailed step-by-step tutorial on how to get a wearable Rodarte-like braid along with a couple finished photos at the bottom. Here we go!
You will need: a few clear elastics, a one inch barrell curling iron, a light hold styling spray + some bobbypins that match your hair color.
- Start with wavy hair– natural or with a curling iron. We used a 1″ curling iron and our Everyday Waves method for this look.
- Create a middle part.
- On the left side of the part, create a basic 3 strand braid. (You can get fancy and do it french braid-style, only taking new hair from the top if you’re a champion braider!)
- About 4-5 inches down, tie the braid off using a clear elastic.
- Gently pull individual pieces as you see in the photot to create a messier looking braid.
- Repeat on the other side.
- Now join the two braids together in the back using another clear elastic.
- This is what the back should look like. Take a second to check it using a hand mirror. It shouldn’t be perfect, you just want to make sure you don’t see any weird bumps popping up.
- Right behind the place where you joined the two braids together, gently grab a strand of hair and slowly pull it out above the elastics (see photo). Spray with a light hold styling spray or thermal protectant spray.
- Take your 1″ barrell curling iron and create a barrell curl (start at the bottom and roll up).
- Release the curl and roll it back up.
- To make the rosette, gently pull the curl apart and give it some texture with your fingers. We twisted ours a little in the process, clockwise. Then use a small bobbypin to secure the rosette to the elastics.
- Create a 3 strand braid using the remaining pieces that hang down from the elastics.
- Gently pull and it give that braid some texture as well.
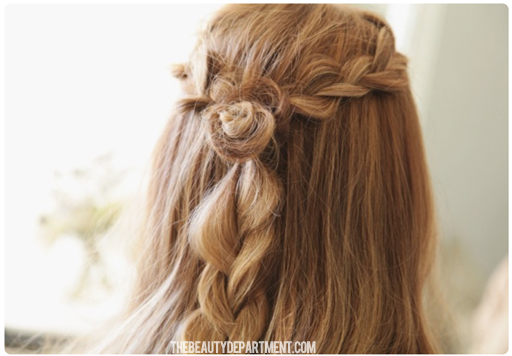
Here is what it should look like up close!
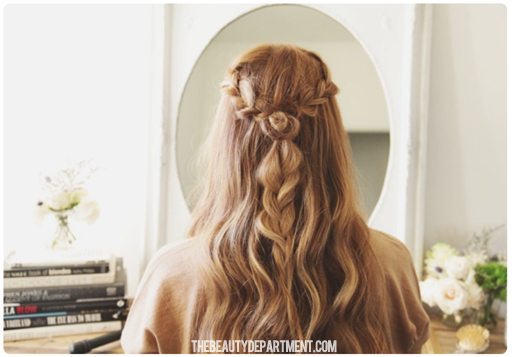
And here it is a little further away. Could be gorgeous for a wedding or just a fun night out with friends. If you try this, please tag us in a photo on instagram @thebeautydept! xo


