hair
AND THE WINNER IS…
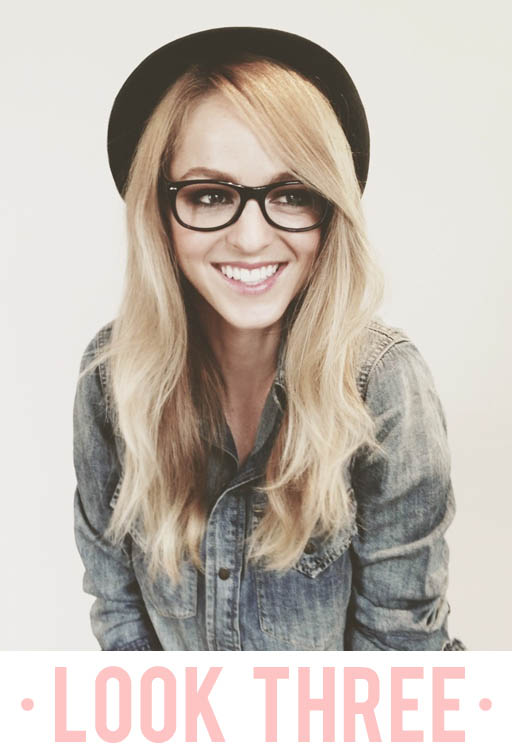
We’re excited to bring you the winner of our Pick Your Own TBD Tutorial and thank you to everyone who voted! The look you chose was LOOK 3! We’ve partnered with Vidal Sassoon Pro Series to create a step-by-step breakdown on how to get this look yourself and think you’ll love just how easy it is to do. This tutorial shows us how to get natural texture + a little volume without using a curling iron. Here’s how:
TOOLS:
- Vidal Sassoon Pro Series Color Protect Spray ($3.99)
- Vidal Sassoon Pro Series Boost & Lift Foaming Air Mousse ($3.99)
- Optional: Vidal Sassoon Pro Series Repair & Finish Spray ($3.99)
- Blow dryer
- Hair pins
- Start by washing your hair and only conditioning the ends lightly. On towel dried hair, spray Vidal Sassoon Pro Series Color Protect Spray from the middle to ends. This is an amazing light-weight conditioner that not only protects but also helps close the cuticle, creating more shine.
- Next up, pump a golf ball-sized amount of Vidal Sassoon Pro Series Boost & Lift Foaming Air Mousse into the palm of your hands.
- Massage it evenly throughout your roots. Really work it in to avoid ” flat spots” where you may have missed with product. If you spend a couple minutes getting it evenly distributed, you’ll get a better result with mousse!
- Now toss your hair all to one side and blow dry on high.
- Flip it to the other side and do the same. It’s okay to go back and forth. You want to get it about 90% dry, leaving just a little bit of moisture. NOTE: If you’re blowing out curly hair to get this look, blow it out all the way! 100% dry! Then see step 7!
- Last, flip completely upside down and make sure you dry the area by the nape of your neck.
- OPTIONAL: If you’ve blown out curly hair and it’s now 100% dry, spray a little bit of Vidal Sassoon Pro Series Repair & Finish Spray. This will restore a small amount of moisture and allow your hair to take the shape of the wave without causing the hair to curl back up.
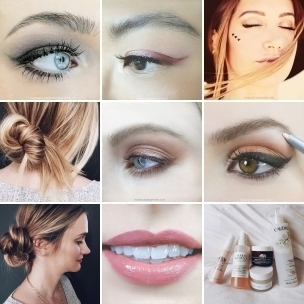
- While your hair is still warm from blowdrying, wind all of it into a tight bun at the crown of your head (as you see in photo 8!) and secure it with pins. We prefer using hair pins (aka: U-pins) for this so they’re not too tight, but you can use bobbypins if you’re careful not to open them too wide. Avoid using ponytail holders as they can leave an unwanted crease. If you have shorter hair, you can make 2 buns by dividing the hair into two sections– one up top and one in back.
- Try and leave your hair in bun for at least 30 minutes. It needs time to cool in order to take the wave shape. This is great for those of you who do your hair at night because you can sleep on it and get an even better wave! Once the hair has cooled, remove the pins and lightly brush the ends if neccessary. Literally all we did in this photo was take it down after 30 minutes of cool down time, shake it out and brush the last 1 inch using a comb. If you want to, you can go over any unruly pieces with a large barrel curling iron or you can hit the ends with a flat iron for an edgier look.
Thank you to Vidal Sassoon Pro Series for collaborating with us on such a fun voting post. Good luck everyone and show us your waves on Instagram! Tag us @thebeautydept!


