hair
AT-HOME BANG TRIM (IF YOU MUST!)
Obviously your first option for a bang trim should be to see your stylist and let him/her do it. However… sometimes life gets in the way– you’re busy, they’re busy, you’re in a rush or it’s too expensive. A lot of hairstylist offer complimentary bang trims, but if yours doesn’t or you simply can’t make it into the salon every couple weeks to clean up your fringe, here’s what I suggest (in serious detail).
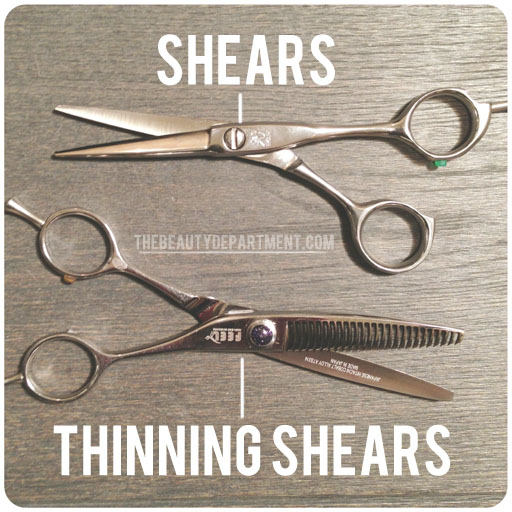
Kitchen scissors, nail scissors and office scissors aren’t good for trimming bangs. Before you consider trimming your own bangs at home, search for a pair of cutting shears and pair of thinning shears. They don’t need to be crazy expensive or fancy. Just read reviews and find something in your price range. Go to a beauty supply if there’s one near you and ask what they recommend. There are so many kinds out there!
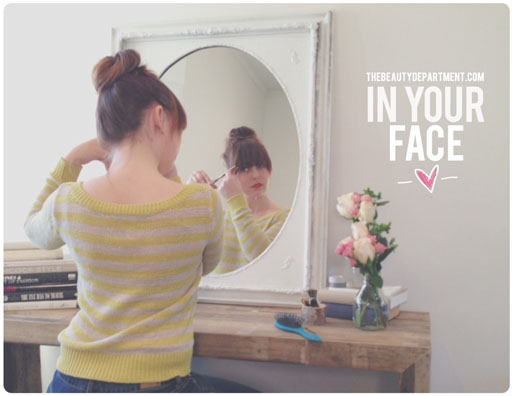
- DRY HAIR ONLY. Don’t do bang trims on wet or damp bangs. They’ll spring up once they’re dry and you’ll be in trouble. Start by sectioning off. Follow the outline your hairstylist made– don’t create your own! Easiest way to do that is to hold your hair in a loose high pony and shake your head while leaning foreword. Your bangs should all come right out and fall in front of your face. Clean up the section using a comb as you see in photo 1.
- Put the rest of your hair up in a bun so you don’t accidentally cut it.
- Smooth out your bangs or style them the way you normally would on a day-to-day basis.
- Check out how deep your bangs are so you can split them evenly into two sections, horizonally. You only want to work on the bottom half first. That way if you mess up the line a little, you have some room to make up for it.
- In photo 5 you can see how we split the bangs in half horizontally.
- Take a napkin or small piece of tissue and wrap it around the section before you clip it to avoid getting any dents or creases.
- It should look like this! Use a strong clip so pieces don’t fall out.
- You can see the guide drawn on the photo above #8. Stay just below the brow to be safe. Start “chipping” or point cutting into your bangs using your regular shears. Point cutting diffuses the line and gives you a little room for error. Blunt cutting (just chopping straight across) isn’t exactly the best idea when doing your own bangs at home.
- I like to take a quick break while I’m cutting to comb the bangs side to side. That will help you see them in a more natural state. Sometimes the repetitive combing downward while cutting can flatten them too much.
- Once they’re to a shorter/desired length, you can drop down the top section.
- Comb lightly so you can see the bottom section through the top section and use that as your guide.
- Now we’ll use the thinning shears. Pick up small pieces from the top section and gradually make them shorter using the thinning shears. Side note- using thinning shears is different than regular shears. They have small teeth so you have to make more cuts. Their main purpose is to blend. Some people will want to cut the top layer with scissors and then blend with the thinning shears after, which you can do but it takes a little more skill. If you’re not good at DIY bang trims just yet, go slow and use the thinning shears on the top section.
- You can see how it’s done in photos 12 + 13. Gradually the top section starts to blend into the bottom section without appearing overly blunt like a 1st grader. (No offense 1st graders!) Also, I typically suggest you leave the sides a little longer. Think of a half moon shape. Some people want straight across, which is fine, but gradually longer sides look good on the majority of people. Longer sides also help you play it safe so you don’t accidentally end up with wacky bangs.
Optionally, you can pull up the entire top section and chip into it a little if you feel like you need a little more blending. Do that with the thinning shears so you don’t mess up the overall shape. xo


