tutorials
NEW YEARS NAILS
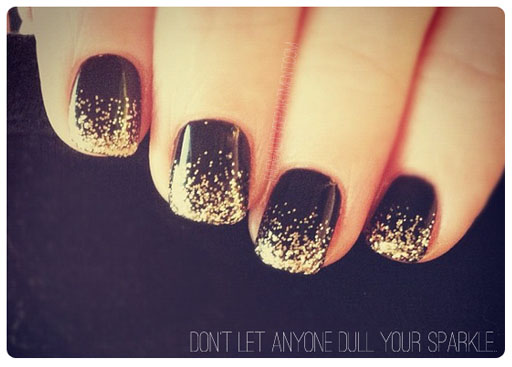
Last week I put a picture (above) of my sparkly holiday nails on my instagram page. These nails are SO simple and so much fun. Since New Years Eve is quickly approaching I thought this would be a fun tutorial to do because you can do these nails in any color combo. I’ve tried black + gold, white + silver, turquoise + rose gold. The key is to get a really dense glitter polish. My favorite so far are these because they have great colors and they’re super-packed with glitter. Okay, here goes:
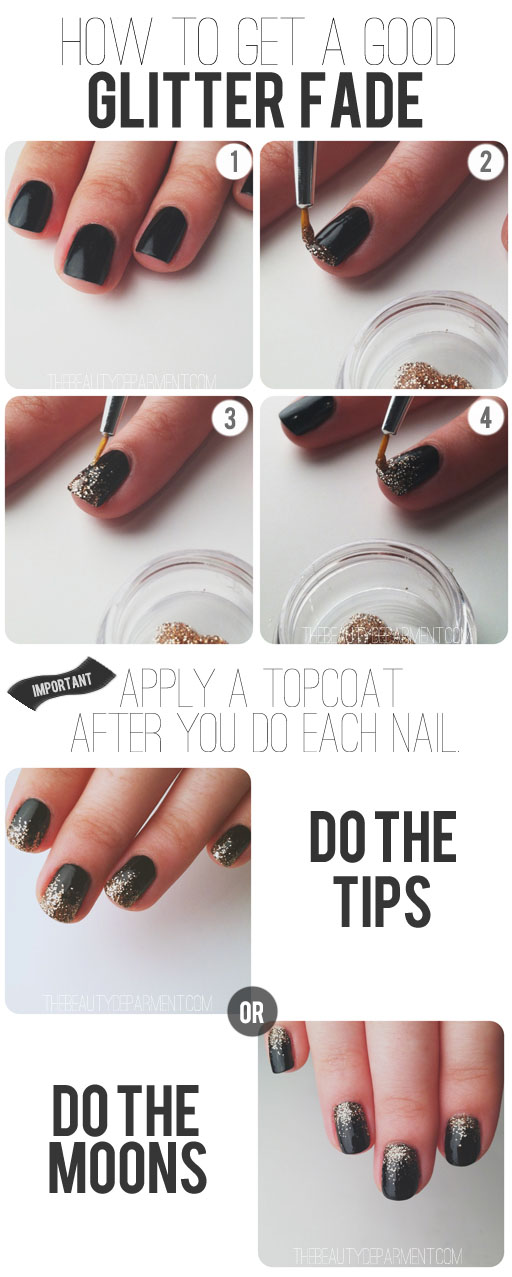
- Start with any polish color you want. We used black so you could really see how it’s done. Let it dry really well. You can even put a thin topcoat over it if you want so it doesn’t smudge when you add the glitter.
- Using your dense glitter polish and a super-thin art brush, lay down a line of glitter polish at the tip of the nail. (Or you can do the moons if you’d rather.)
- Using the thinnest art brush you can find, drag the glitter polish out carefully. You don’t need to drag too much of the glitter because you want it to fade to almost nothing. Only go about half the length of the nail.
- After you’ve dragged it out, go back in and lay down one more line of glitter polish at the tip to make it look more dense.
Add your topcoat right away. It helps the glitter lay flatter and settle better in my opinion. Get creative with color combos. I wonder if this would look good coming out from the sides if you have longer nails…? Don’t forget to tweet (@tbdofficial) or instagram (@thebeautydept) us a photo if you try it out! Good luck and happy holidays, friends! xo


