makeup
MAKE YOUR LASH CURLING MORE EFFECTIVE + LAST LONGER

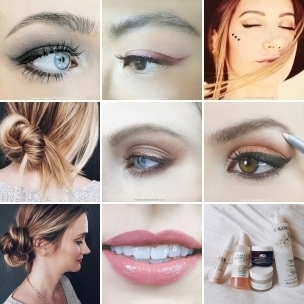
post + photos by amy nadine, graphic design by eunice chun
post + photos by amy nadine, graphic design by eunice chun
We’ve always been told to curl our lashes before applying mascara so we don’t accidentally break off any lashes. And rightfully so, unfortunately. When mascara dries, it makes each lash dry and stiff… and more prone to breaking. So we curl before applying it and if we lose a little bit of the curl when we apply mascara, we accept it and take what we can get! But, there is another option worth trying that allows you to curl after, right at that critical moment when the lashes are drying, making the pinch more powerful. Here’s how:
TOOLS:
- Liquid liner — black will stand out the most obviously but you can certainly use brown. I used Benefit Magic Ink because it’s jet black and also one of the most user-friendly brushes for cat eyes.
- Lash comb — this Sonia Kashuk Lash Comb has been in my kit for years and is a great buy.
- Lash curler — use your favorite, mine is MAC Full Lash Curler because it gives the strongest pinch I’ve ever found to really flare the lashes.
STEPS:
- Paint the teeth of your lash comb with the liquid liner by sweeping the brush along the tip to about halfway down. Don’t forget to paint both sides.
- Comb through the upper lashes using upward strokes by starting at the roots and finishing at the tips. Paint both sides of the lashes as well.
- At the critical moment when the liquid is drying, grab your lash curler and give them a proper pinch. Revisit my Lash Curling Lesson to remember the most important step!
- I left Sophia’s eyes simple so you could really see the lashes, but feel free to put on your creative hat and add liner, shadow, etc!