hair
ORGANIZATION STATION: HEADBAND HOLDER

photos and post by Kristin Ess

photos and post by Kristin Ess
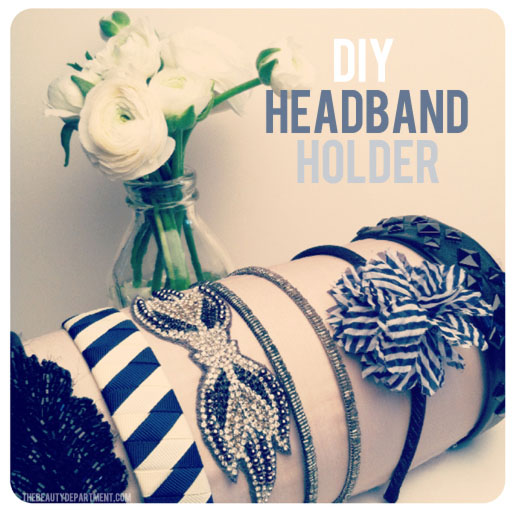
Tis the season for spring cleaning! Last week we did a DIY on hair jars for the bathroom. This week it’s time to organize those pretty little headbands! This is the easiest project ever and hopefully one that will be as beneficial to you as it was to me and my messy drawers of headbands. Here’s 8 easy steps to making one of these helpful holders…
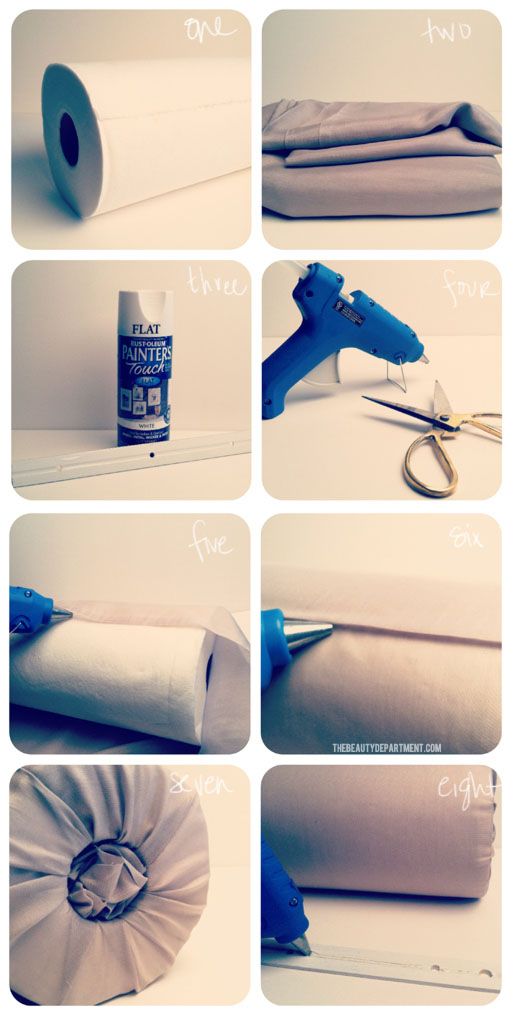
- Get a large roll of paper towels. Test a headband on it to make sure it fits. If not, remove some of the paper towels until they fit properly.
- Get a fabric that coordinates well with your bedroom or bathroom. I went with a very thin taupe-y grey cotton voile fabric.
- Spray paint a ruler (or something flat that can stablize your paper towel roll) with a complimentary or matching color. I used flat white.
- Plug in your hot glue gun and get your scissors out!
- Cut a fabric square and leave an extra 6″ on each side of the roll. Hot glue the edge of the fabric to the paper towel roll as seen above.
- Wrap it all the way around the paper towel roll, overlapping by an inch or two. Cut and glue that edge into place. I folded my edge under before I glued it to make it cleaner.
- Once that’s secure, twist the excess fabric on the sides (like you would with a piece of candy) and tuck them into the paper towel roll hole.
- Put hot glue on your ruler or piece of wood and secure it to the base of the headband holder to prevent it from rolling.
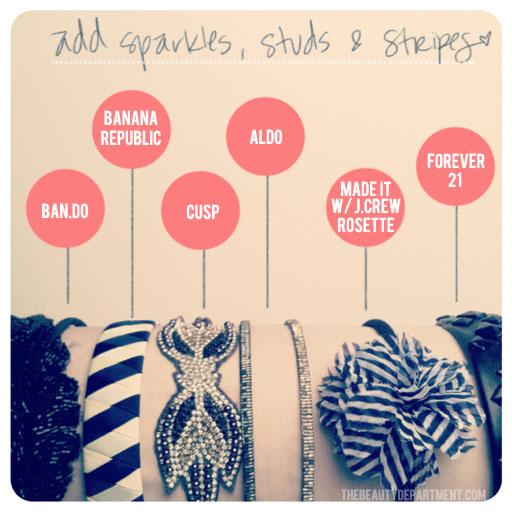
Last but not least…


