hair
HALLOWEEN HAIR TUTORIAL #2
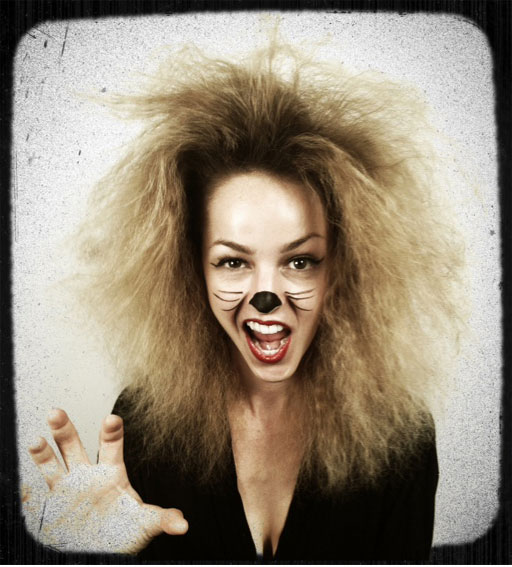
Lots and lots of request rolled in for a Halloween hair tutorial on creating frizz. Clearly this look can go with SO many costumes– 70’s glam, a lioness, a gypsy, a witch, a dead person, zombie, ghost (spray with white hair powder!), and countless others… I snagged my gorgeous friend Nora for this tutorial. She has smooth fine hair and you can see how BIG it gets. If you have curly hair or thick hair you’ll get even MORE volume. The best part is this tutorial will work on any texture! Warning: this takes about 1-2 hours. Yes, it sounds like a lot, but it’s worth it. No crimping iron can get you this much volume! For this particular look, I suggest you get a friend to help with the back. It’s very hard, if not impossible to do the back yourself. Alright, here we go:
TOOLS: paddle brush, sectioning clips, U-pins, light holding hairspray or thermal styling spray, temperature-controlled flat iron.
STEPS:
- Start with clean, blow dried hair. I like prepping the hair with a light-hold styling mousse so you get a little extra support + hold from the inside when you set it.
- Take a section as seen above and clip it up. Create 1″ x 1″ square sections (this is exactly why I say it will take a long time!)
- U-Pins can be found at the beauty supply. These are not bobby pins. They don’t close. They’re referred to as either “hair pins” or “U-Pins”. If you can’t find them at your local beauty supply, google them– they’re all over the internet!
- Place the 1″ square section inside the pin the way Nora does above. Make sure the base of the pin stays close to the head. The more room there is between your scalp + pin, the less volume it will create.
- Zigzag the hair in a “circle eight” pattern in and out of the pin all the way to the end.
- Once you get to the very end, give it a mist of light holding hairspray or thermal styling spray. (Don’t worry if little pieces fall out! There will be so much texture, you won’t really notice those.)
- Your flat iron should be on medium, not high. Start at the bottom and flat iron the end piece first. That will keep the hair from unraveling. Work your way up to the base. Don’t let the hair get too hot. I like to do it on 300 degrees Fahrenheit and only clamp the flat iron for 5 seconds at a time.
- Once you (and your friend) finish your entire head it should look something like this (photo 8)!
- Instead of unraveling from the bottom up to the top of the pin, just pull the U-Pin out from the base. Should slide right out.
- Brush with a big paddle brush until you reach your frizziest potential. Give it a good spray and you’re done!
PS, I love my friends because they do things like this for me…


