hair
DARKENING YOUR EYEBROWS

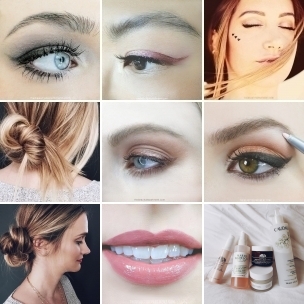
This one is for all you gorgeous gals with brows lighter than your hair color. The lovely Hannah was so kind to let me borrow her brows to show you how this is done. Her hair is naturally brown but her brows are fine and blonde. I do this on a lot of my clients in the salon if their brows are lighter than their hair color– often times on a blonde who goes darker. But you can do this at home with a rich brown dye. I prefer to get something in the ashe family when doing brows because ashe combats warmth and keeps your brows from going too golden/red. I also prefer to use something with a lower volume since your goal is not to lift, but to deposit. Try a non-permanent dye like the ones that wash out in 28 washes. I find that regular dye gets too intense and looks a bit fake when darkening brows. These ones by Clairol will do the trick! By the way– this is not the same process as lightening eyebrows (which we’ll get to soon) so keep in mind these steps are only for darkening. Okay, here we go!

You always want to be incredibly careful when using dye near your eyes. If you’re not good with stuff like this, enlist a friend! Keep your eyes closed while the color processes just to be safe.
- Start with clean dry brows. You don’t want to do this on brows that have been filled in with makeup because you won’t see the color change as well.
- Using a spoolie (which you can buy at any beauty supply) or an old mascara wand that has been shampooed and dried, comb out your brows.
- Apply color first to the inside half of the brow as you see Hannah doing above. I prefer doing this part first because I always find that it needs a little more time to process than the outsides. The hairs are usually thicker and more dense on the inside half.
- Wait a minute or two and go over it one more time with a little more color to make sure you didn’t miss any little spots– the inside halves of the brow can be really dense!
- Clean up the edges with a pointed q-tip. I use professional color remover, but you can also just use warm water. If you see any staining you can use SeaBreeze or any facial tonic to help remove the spot. But the whole reason you clean up as you go is to avoid staining. I would say you should give the insides 5-7 minutes to process before moving to the next step. You should see the color start changing/oxidizing.
- Next, apply the color to the outer halves.
- Clean up the edges again with a pointed q-tip and wait another 5-10 minutes. The color will probably appear darker than it really is and it can look a little scary. You can always remove a little dye with a q-tip to see where they’re at. If they’re not done, just put a little more color over that spot with your spoolie.
- Once it’s to your desired shade, use a dark towel with warm water to remove the rest of the color. You shouldn’t have much staining since you cleaned up as you go.
- Check your work in the mirror to make sure you didn’t miss any spots. If you did, just go back in and spot-treat it.
Good luck! Would love to hear your brow darkening experiences or any requests you have below. xo